From Prompt to Final Cut: A Complete Workflow
The complete production pipeline on PonPon, from your first idea to an exported video ready for the world.
Most tutorials show you how to use a single feature. This guide is different. It walks through an entire production workflow from start to finish — taking a concept from an idea in your head to an exported video ready for publication. Every step happens on PonPon.
We will produce a 30-second product showcase video for a fictional luxury watch brand. The workflow applies to any project: swap the subject and the steps remain the same.
Phase 1: Concept and reference
Define the brief
Before touching any tool, write down what you need:
- Subject: Luxury watch, closeup hero shots and lifestyle context
- Mood: Sophisticated, minimal, warm tones
- Format: 16:9 landscape, 30 seconds, 5-6 shots
- Style reference: Think high-end watch advertisement — clean backgrounds, dramatic lighting, slow deliberate camera movements
This brief takes two minutes to write and saves an hour of directionless generation.
Generate reference images
Start with still images to establish the visual language. On PonPon, open the image generator and select your model. For this project, we will compare two approaches:
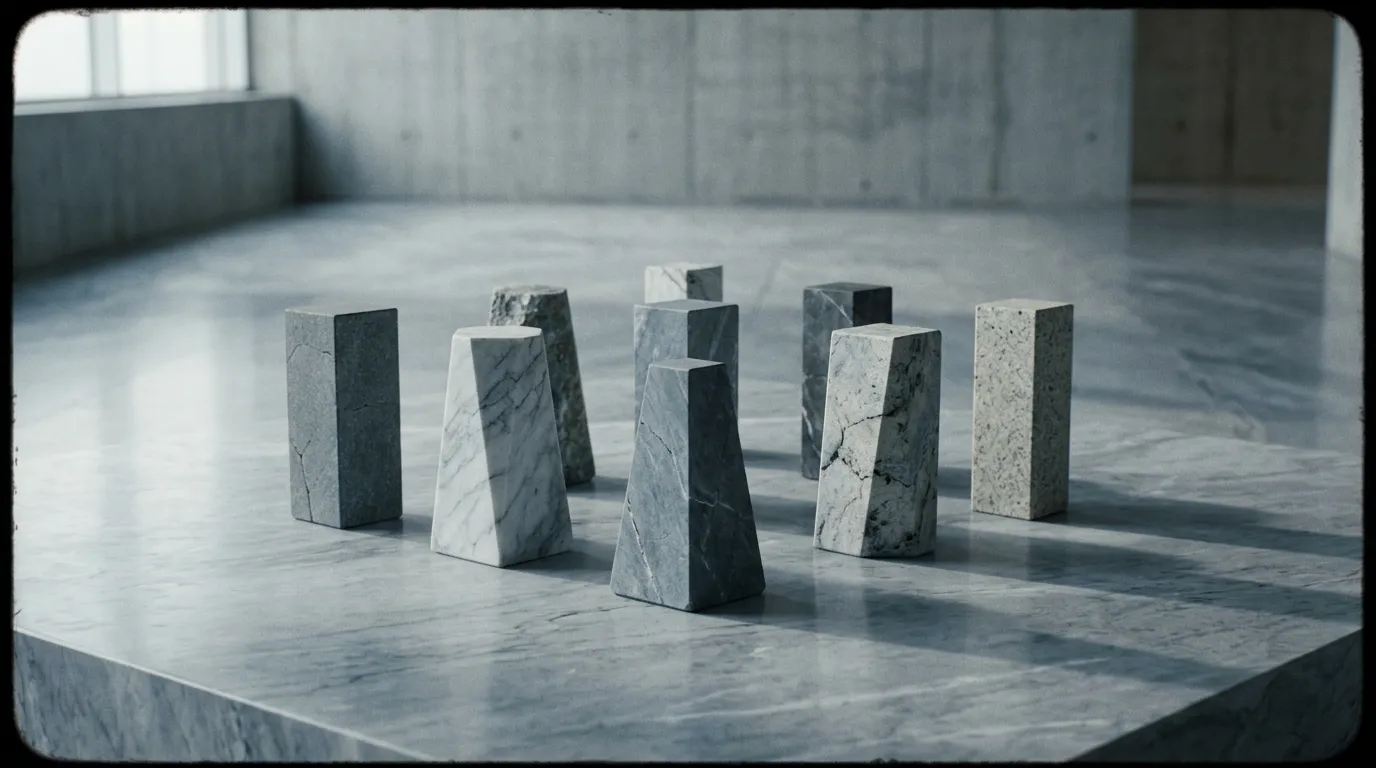
Midjourney v7: "Luxury men's watch on a dark marble surface, dramatic side lighting, warm gold tones, shallow depth of field, commercial product photography"
Seedream 5: Same prompt to compare aesthetic direction.
Generate three to four images on each model. Open Canvas and compare them side by side. Pick the aesthetic direction that best matches the brief. For our luxury watch project, Midjourney v7's dramatic lighting and rich tones are a better fit.
Save the best two or three images — these become reference anchors for the video generation phase.
Phase 2: Shot planning
Build the shot list
Using Cinema Mode, plan the sequence:
Shot 1 — Establishing: Wide shot of the watch on a dark surface. Camera static. 4 seconds. Sets the mood.
Shot 2 — Slow reveal: Dolly in from the wide shot to a medium close-up. The watch fills more of the frame. 5 seconds. Builds focus.
Shot 3 — Detail orbit: Slow orbit around the watch face, showing the dial, hands, and case finishing. 6 seconds. Showcases craftsmanship.
Shot 4 — Lifestyle context: The watch on a wrist, reaching for a glass of whiskey in a dimly lit lounge. 5 seconds. Places the product in context.
Shot 5 — Hero close-up: Extreme close-up of the watch face with light catching the crystal. Camera static with a slight zoom. 5 seconds. The money shot.
Shot 6 — Final logo: Clean shot of the watch centered on dark background, brand name appears. 5 seconds. Closing branding.
Set global style parameters
In Cinema Mode, define the shared visual language:
- Color palette: Warm golds, deep blacks, dark wood tones
- Lighting: Dramatic side lighting with deep shadows
- Art direction: Photorealistic commercial photography
- Aspect ratio: 16:9
These settings propagate to every shot, maintaining visual cohesion.
Phase 3: Video generation
Generate shot by shot
Work through the shot list in order. For each shot:
- Write the specific prompt incorporating the global style and the shot's unique action
- Upload the reference image from Phase 1 to anchor visual consistency
- Select the model — Kling 3.0 for precise camera movement (shots 2, 3, 5), Sora 2 for atmospheric beauty (shots 1, 4, 6)
- Generate and evaluate
- Iterate if needed — adjust the prompt, try a different strength, or switch models
Example prompts for each shot
Shot 1: "A luxury gold watch rests on a dark polished marble surface. Dramatic warm side lighting from the right. Deep black background. Commercial product photography. Camera static. 16:9."
Shot 3: "Slow orbit around a luxury gold watch on a dark marble surface. Camera circles the watch clockwise at eye level. Warm side lighting highlights the watch face details, crown, and case finishing. Shallow depth of field."
Shot 4: "A man's wrist wearing a luxury gold watch reaches for a glass of whiskey on a dark wood bar. Dimly lit upscale lounge interior. Warm golden tones. Shallow depth of field. Camera follows the hand movement smoothly."
Handle problem shots
Not every shot lands on the first try. Common issues and fixes:
- Camera movement not matching the brief: Rephrase using more specific filmmaking terminology. "Slow dolly in" instead of "camera moves closer."
- Style inconsistency between shots: Re-upload the reference image and increase style transfer strength.
- Motion artifacts: Reduce the complexity of the prompt. Simpler descriptions produce cleaner motion.
- Wrong model for the task: If a shot needs precise camera control and you are using Sora 2, switch to Kling 3.0.
Phase 4: Assembly and refinement
Arrange in Cinema Mode timeline
Once all six shots are generated, arrange them in order in Cinema Mode's timeline. Preview the full sequence.
Check for:
- Pacing: Does each shot feel like the right length? Trim if needed.
- Flow: Do shots transition naturally from one to the next? Reorder if a transition feels jarring.
- Consistency: Do all shots look like they belong in the same video? Regenerate outliers.
Add transitions
For a luxury product video, hard cuts between shots are the professional choice. They communicate confidence and precision. Add a single fade-from-black at the opening and a fade-to-black at the close.
Avoid dissolves and wipes for this style of content — they undermine the minimal sophistication of the brand.
Final review
Watch the assembled sequence three times:
- First watch: overall impression and mood
- Second watch: technical quality (artifacts, consistency, motion smoothness)
- Third watch: pacing and timing
If anything pulls you out of the experience, fix it before exporting.
Phase 5: Export and delivery
Export settings
From Canvas, export the assembled sequence:
- Format: MP4 (H.264)
- Resolution: 1920x1080 (1080p)
- Quality: Maximum
Platform-specific versions
If the video needs to go to multiple platforms, export additional versions:
- Instagram Reels: Re-edit to 9:16 vertical, 15-30 seconds
- YouTube: Keep 16:9, add extra seconds at the end for an end screen
- LinkedIn: 16:9, keep under 30 seconds for autoplay engagement
Share for review
Before publishing, share the Canvas collection with stakeholders for review. They can view the final video and individual shots, leave feedback, and approve the final cut — all through a share link without needing a PonPon account.
Time and cost summary
This entire workflow — from concept to exported final cut — takes approximately 60-90 minutes for a 30-second video. The cost in credits covers approximately 15-20 generations (including iterations and comparison tests across models).
Compare this to traditional production: location scouting, equipment rental, talent booking, shooting, editing. The traditional version takes days and costs thousands. The PonPon workflow takes an afternoon and costs a fraction.
Adapting this workflow
The luxury watch project is one application. The same five-phase workflow applies to:
- Product launch videos for any industry
- Social media content series
- Music video production
- Real estate property tours
- Event promotion videos
- Educational and explainer content
Change the subject, adjust the shot list, select different models. The workflow stays the same. From prompt to final cut, PonPon handles every phase.