Startup Launch Videos: From Idea to Publish
Everything an early-stage startup needs to produce a compelling launch video — from narrative structure through AI-powered production to distribution.
Every startup needs a launch video. It is the single piece of content that appears on your landing page, your Product Hunt launch, your pitch deck, your social media announcement, and your investor updates. A strong launch video can define your brand from day one.
The problem is that most startups cannot afford the $10,000 to $30,000 that a professional video agency charges. And they shouldn't — at the launch stage, that money is better spent on product development or customer acquisition.
AI video generation makes it possible to produce a launch video that looks like it cost five figures for under $100 in generation credits. This guide covers the complete process from narrative planning to distribution.
The anatomy of a startup launch video
Effective launch videos share a common structure. Not a rigid template, but a narrative arc that maps to how early adopters and investors evaluate new products.
The world has a problem (10-15 seconds)
Open with the pain point your startup addresses. Make it visceral and recognizable. The viewer should see their own frustration reflected in the first seconds.
Don't state the problem abstractly — show it visually. AI video can generate scenes that illustrate frustration, inefficiency, or missed opportunity in ways that connect emotionally. A creative professional drowning in repetitive tasks. A small business owner staring at empty shelves. A marketer watching competitors while their own content stalls.
Your product exists (15-20 seconds)
Introduce your product as the resolution to the problem. This is the turning point — the visual should shift in tone from tension to relief.
Show the product in action conceptually. If it is a software product, don't screen-record your beta interface — it will change. Instead, show what the product enables. A team collaborating effortlessly. A business growing visibly. A creator producing at ten times their previous output.
Sora 2 produces the photorealistic quality needed to make these aspirational scenes convincing. Veo 3.1 adds cinematic camera work that elevates the production value.
The benefit is tangible (10-15 seconds)
Show the specific outcome your product delivers. This is not a feature list — it is one or two concrete results that the viewer can imagine experiencing.
"Save 10 hours per week" shown as someone leaving work while the sun is still up. "Increase conversions by 40%" shown as a dashboard with an upward curve. "Create content 5x faster" shown as a content library growing in real time.
The call to action (5 seconds)
End with exactly one action you want the viewer to take. "Join the waitlist." "Try it free." "Back us on Kickstarter." Do not dilute the CTA with multiple options.
Pre-production planning
Write the narrative first
Before any visual production, write a one-page narrative document covering:
- The core tension: What problem does your startup solve?
- The transformation: What changes when someone uses your product?
- The proof: What makes this claim credible?
- The tone: Aspirational? Urgent? Warm? Technical?
This document is your creative brief. Every visual decision flows from it.
Create a shot list
Plan 8 to 12 shots that tell your story. Map each shot to a section of the narrative arc:
- Problem illustration (2-3 shots)
- Product introduction (1-2 shots)
- Product in action (2-3 shots)
- Outcome visualization (2-3 shots)
- CTA and brand close (1 shot)
For each shot, write a description that covers subject, camera movement, lighting, mood, and any specific action. These descriptions become your AI generation prompts.
Choose your visual style
Startups default to one of three visual styles:
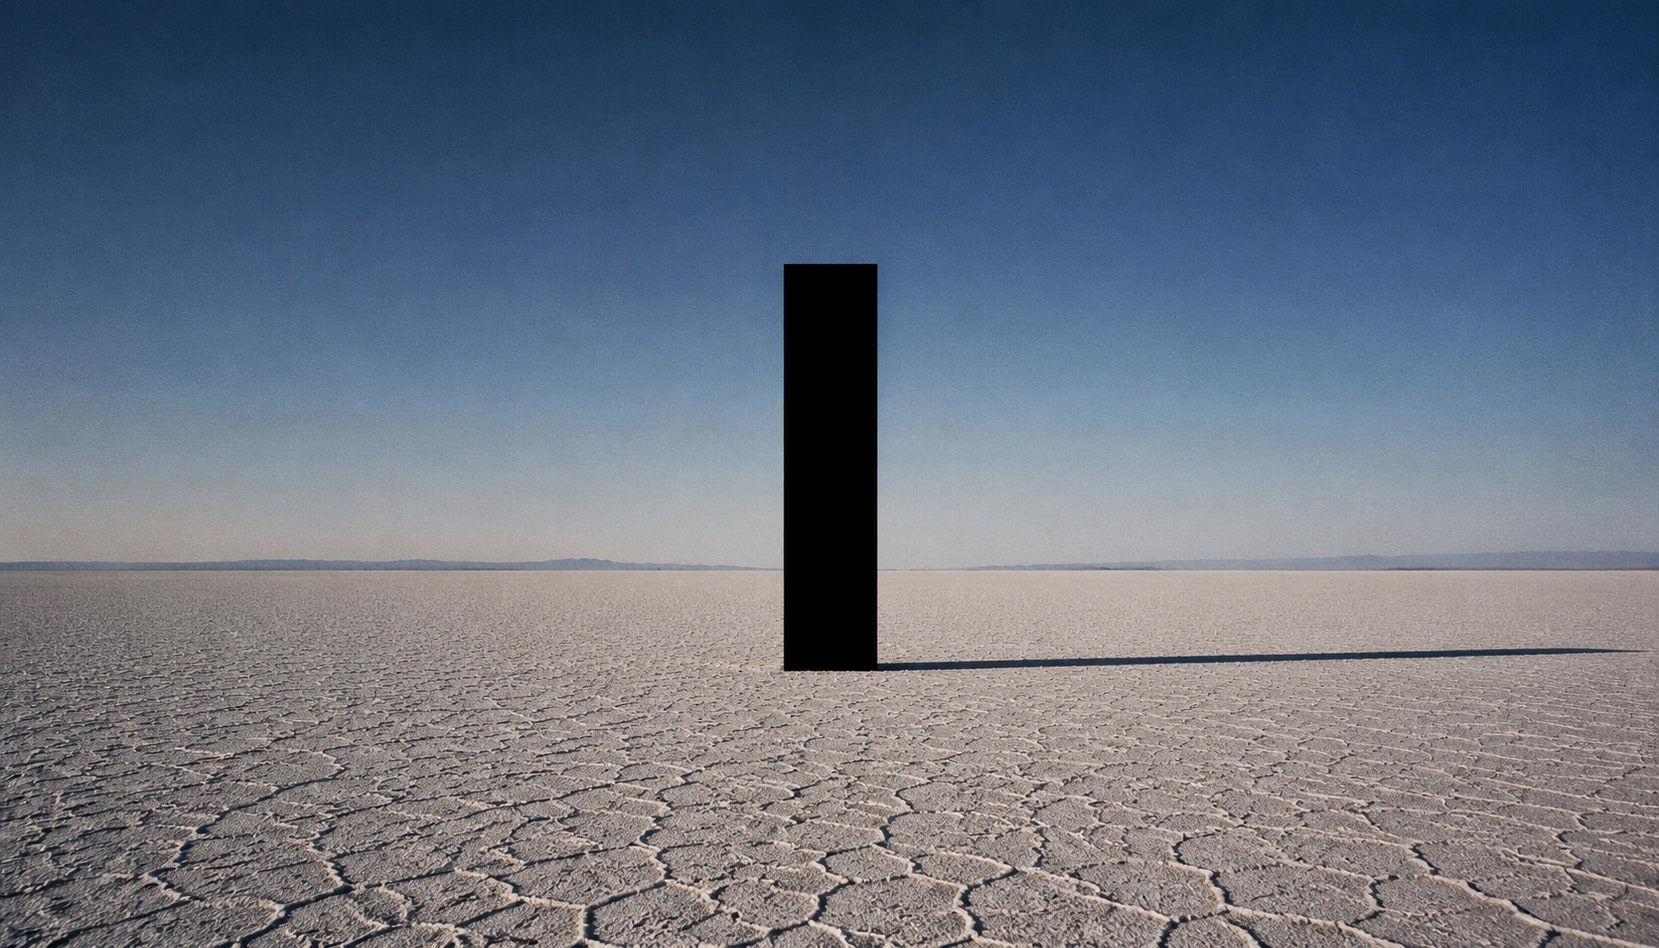
- Tech-forward: Clean backgrounds, geometric compositions, cool blue and white palette, precise camera movements. Use Veo 3.1 for controlled camera work.
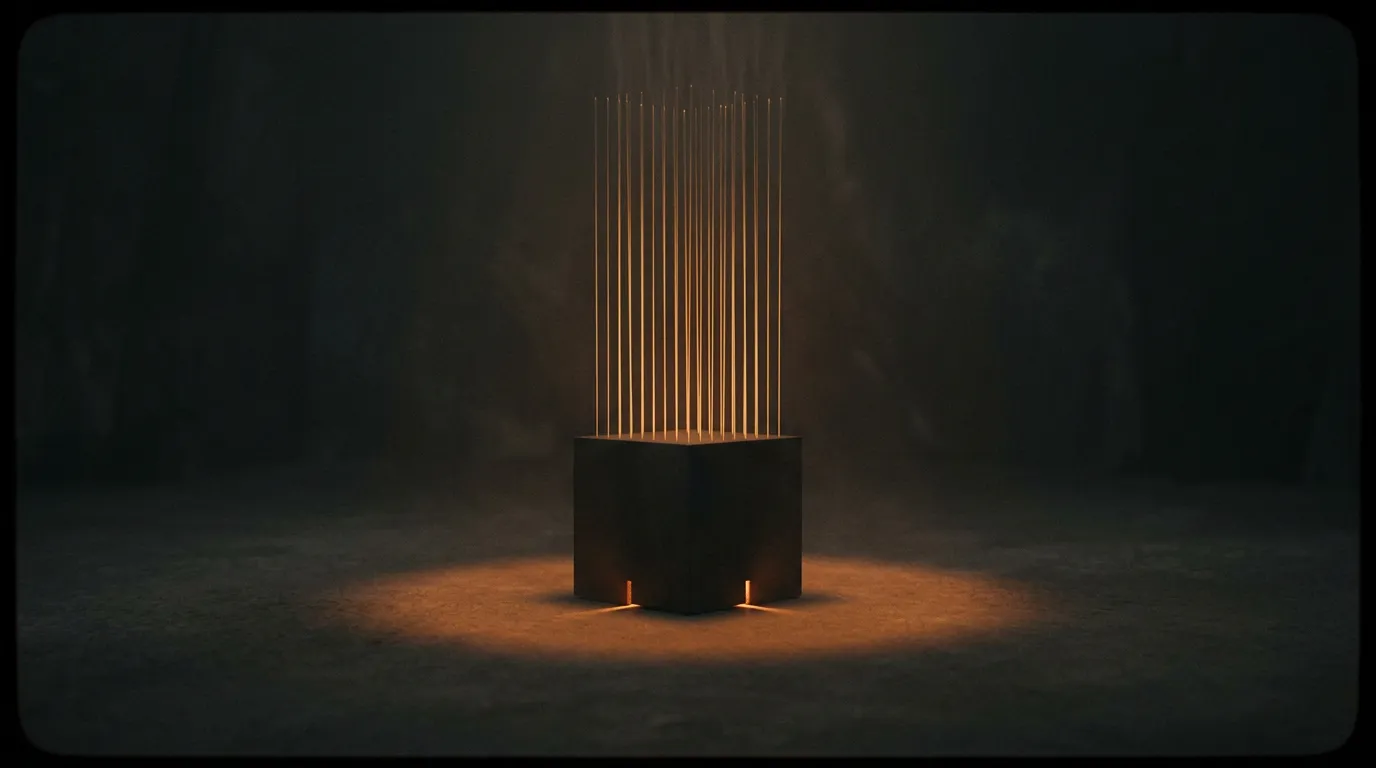
- Human-centered: Warm lighting, people using the product, natural environments, earth tones. Use Kling 3.0 for consistent character appearance across shots.
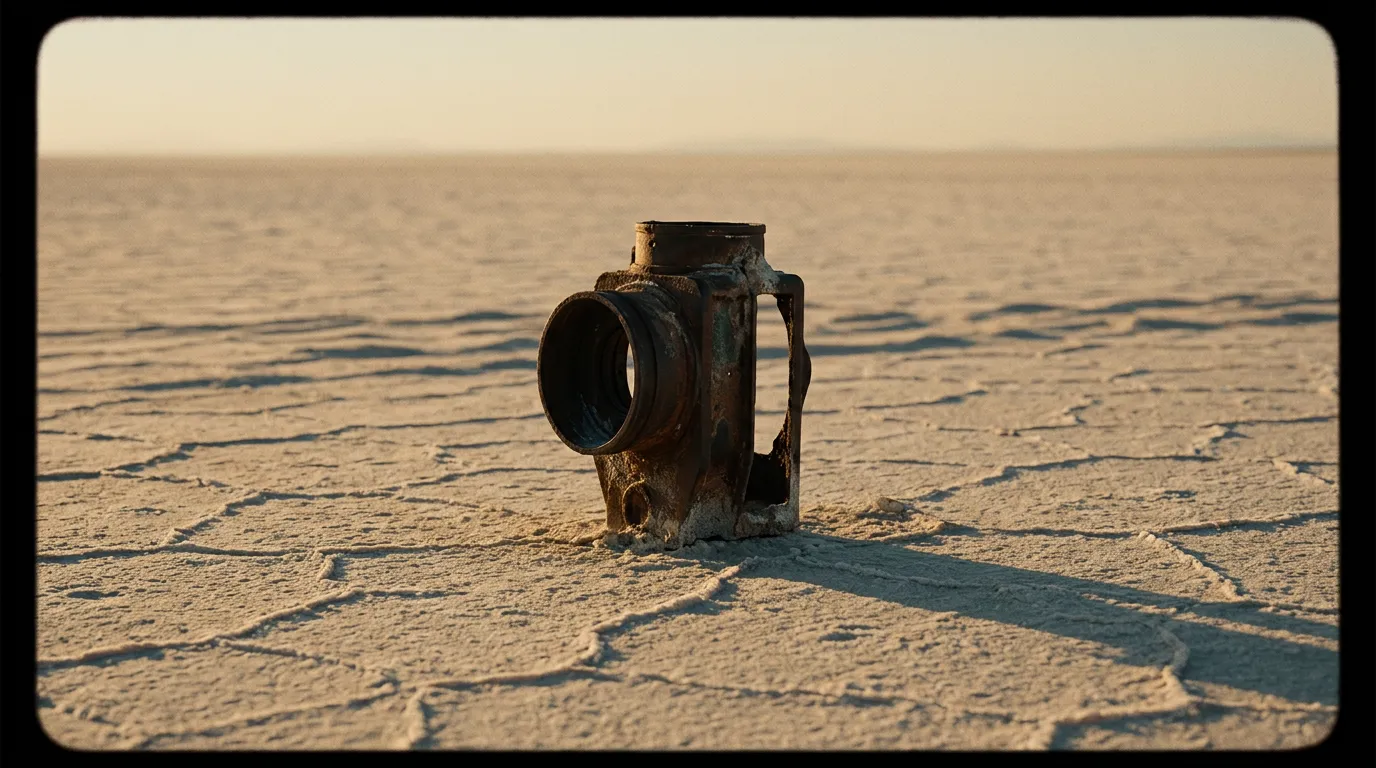
- Bold and disruptive: High contrast, unusual angles, vibrant colors, rapid motion. Use Seedance 2.0 for energetic movement and fast iteration.
Pick one and maintain it across the entire video. Visual consistency is what makes a collection of clips feel like a produced piece.
Production workflow
Generation session (3 hours)
Open PonPon and work through your shot list. For each shot:
- Generate with your primary model based on visual style
- Use Canvas to test key shots across 2 models simultaneously
- Generate 3 to 4 variations of hero shots (the most important visuals)
- Generate 2 variations of supporting shots
- Select the strongest output for each position in the edit
For a 60-second video with 10 shots, expect to generate 20 to 30 clips total and select the best 10.
Assembly (2 hours)
Import selected clips into your video editor. Arrange according to your storyboard. Key editing decisions:
Pacing: The problem section should feel slightly uncomfortable — tighter cuts, less breathing room. The product section should feel expansive — longer shots, smoother transitions. The outcome section should feel satisfying — steady pacing, resolved visual tension.
Transitions: Simple cuts and short cross-dissolves. Nothing flashy. The content should carry the narrative, not the transitions.
Text overlays: Use text sparingly. Your product name, a key statistic, and the CTA. That's it. Let the visuals communicate everything else.
Audio (1 hour)
Audio makes or breaks a launch video. You need three layers:
Music: A single track that builds from subtle tension to resolution. Choose a track that matches your brand tone. Cinematic orchestral for authority, electronic for innovation, acoustic for warmth.
Voiceover (optional but powerful): A clear, confident voiceover that walks the viewer through the narrative. Keep it conversational. Write it like you are explaining your startup to a smart friend, not like you are reading a press release.
Sound design: Subtle sound effects that add depth. A whoosh for transitions, a soft impact for reveals, ambient sound under lifestyle scenes. These details elevate the production value significantly.
Distribution strategy
Launch day platforms
- Landing page: Embed above the fold with autoplay (muted). This is the primary placement.
- Product Hunt: Upload as the gallery hero. Product Hunt launches with video outperform those without by a significant margin.
- Social media: Cut a 15-second teaser for TikTok, Instagram Reels, and Twitter/X. Link to the full video on your landing page.
- Email: Send to your waitlist with the video embedded or linked.
Ongoing use
- Pitch deck: Embed in your investor deck. A 60-second video is more compelling than 5 slides of text.
- Sales conversations: Share as a primer before calls. Prospects who watch the video arrive more informed and more engaged.
- Hiring page: Candidates who understand your mission self-select into the pipeline.
- Partner outreach: A professional launch video signals credibility and seriousness.
Version control
Your launch video will need to evolve as your product evolves. AI generation makes this practical. When your product changes significantly, update the relevant shots — you don't need to reshoot the entire video.
Keep your shot list and prompts organized. When you need version two, you can regenerate specific shots while keeping the rest of the edit intact. This modular approach means your launch video stays current without requiring a full reproduction cycle.
The launch video as brand foundation
Your launch video is often the first piece of video content you produce. It sets the visual tone for everything that follows — social content, ads, tutorials, updates. The visual style, pacing, and quality you establish here become the baseline for your brand's video identity.
Make it count. Start with PonPon's free credits, plan your narrative carefully, generate with intention, and produce a launch video that punches well above its budget.