Restore an old photo and bring it to life
A complete recipe: scan a faded family photo, repair and recolor it with AI, then animate it into a few seconds of gentle motion — restored old photo to living memory, in PonPon.
Old prints fade, crack, and yellow — but the moment in them doesn't have to. This recipe takes a damaged photo through two passes: first repair it so it looks like the day it was taken, then animate it so the face actually moves. It's one of the most shared things you can make, and it works from a single phone snapshot of a print.
What you'll need
- A photo of the old print — a flat, well-lit phone photo is fine; a flatbed scan is better.
- Two or three minutes. The repair is one click; the animation is one prompt.
Step 1 — Digitize and crop
Photograph or scan the print in even light, avoiding glare. Crop to the photo's edges so the border and background clutter are gone. If the image is small or soft, run it through upscale first — a sharper input restores and animates far better.
Step 2 — Repair the damage
Open Photo restoration and let it remove scratches, creases, and spots, and sharpen the face. For a black-and-white original, the same pass can recolor it — skin, clothing, and background come back in natural tones.
Need a specific fix instead of a full restore? Use the targeted editing tools: remove background to isolate a subject, or multi-angle to recover a slightly different view of a face.
Step 3 — Animate it
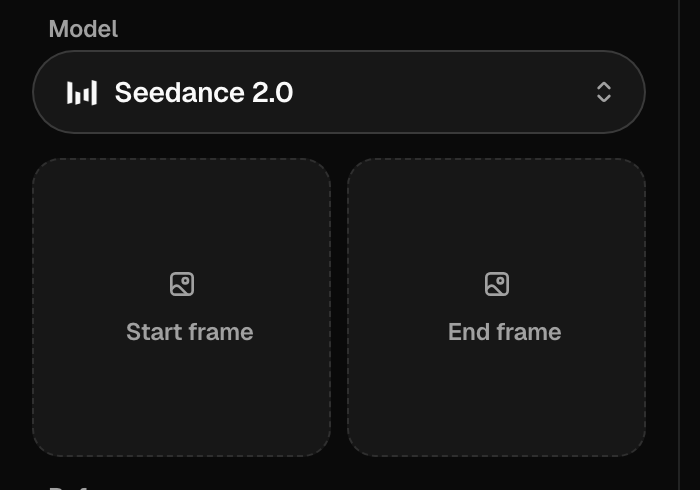
In the video generator, drop the restored image into the Start frame slot and describe a small, believable motion. Keep it subtle — a faint smile and a breath read as "alive"; a big head-turn reads as fake.
A 1950s portrait of a young woman gently comes to life — she blinks, the corners of her mouth lift into a soft smile, a light breeze stirs her hair. Subtle, natural motion, the camera holds still. 4 seconds.
Kling 3.0 and Seedance 2.0 both handle restrained facial motion well; see Choosing a model. For the full method on animating a still, read the Image-to-video guide.
Step 4 — Finish and share
Upscale the final clip if you want a crisp full-screen version, then export. A common touch: hold the restored still for a second, then let it move — the "before → alive" beat is what makes these land.
Common fixes
| Problem | Try this |
|---|---|
| The restored face looks plastic or too smooth | Start from a higher-res scan, or restore lighter — over-restoration erases real skin texture |
| Recolored tones look off | Colorizing black-and-white is an interpretation, not a record — regenerate for a different take |
| The face warps or melts once it moves | Restore and sharpen before animating; ask for slower, smaller motion |
| The motion feels uncanny | Cut the prompt to one subtle action — a blink, a faint smile; big head-turns read as fake |
| Old damage flickers in the clip | You animated before fully repairing — redo the restore pass on the still first |
| "Photos of real people aren't supported" | Some models block real faces — use Kling 3.0 or Veo 3.1 for the animation step |
The one-tap shortcut
Just want the photo to move with zero setup? A one-tap Effect animates a single portrait into a themed clip automatically — no prompt, no Start frame. Great for a quick post; come back to the full recipe when you want control over exactly how the face moves.
Related articles
- Image-to-video guideAnimate a still you already have: pick a strong source image, use Start and End frames, write motion (not a scene), and choose the best model for image-to-video on PonPon.
- Editing & cleanup toolsPonPon's one-purpose editing tools: background removal, upscaling, face swap, photo restoration, image-to-image restyle, text fixes, and angle changes — when to reach for each.
- Image generation basicsWrite a good image prompt, choose between models like GPT Image 2, Nano Banana Pro and Seedream 5.0, use reference images, and edit results with the annotate tools.